.png?width=75&height=75&name=4.0%20(7).png)
All QVscribe for web users will need the following to get up and running:
-
Download files for QVscribe Browser Extension or the ability to install using the Chrome Webstore
-
The QVscribe Teams Server hostname/IP
- Active Directory Support Installer *Note: Necessary if installing from Chrome/Edge stores and wanting to authenticate with Microsoft Active Directory
-
Their username and password *Note: This not needed if you are using Active Directory for licensing
Below outlines all of the potential steps they will need to take to get up and running with QVscribe for Web.
QVscribe Doors Connector Installation Process
There are two ways to install QVscribe now, either between installing the .msi or via the Webstore:
Installing using the Webstore
Go to the Edge webstore and add the extension to your machine and click on Get:

Installing using the .msi
Step 1: Run the installer QVscribeForEdge_[version].msi installer
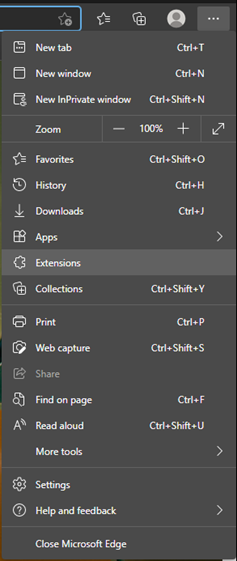
Step 2: Open Microsoft Edge and type edge://extensions in your address bar. You can also access your extensions by clicking on the elipsis icon on the top right corner of your Edge browser. Click on Extensions.

Step 3: Enable the Developer Mode present on the bottom left corner of the window.

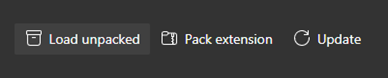
Step 4: Select Load-Unpacked
Step 5: Select folder (%appdata\%QRA Consulting Inc\Qvscribe\edge\extension) in the folder bar at the bottom of the window that opens.
Step 6: Disable the Developer Mode.

Step 7: After installing the QVscribe Browser Extension, you should see the QVscribe icon in the upper right next to the address bar in Microsoft Edge, it will be greyed out if you are not signed in

DOORS Next Generation Connector
For DOORS Next Generation users only, there is one additional step needed for set-up. Please refer to the following article to set up the Open Social Gadget Widget.