QVscribe for DOORS Next Connector Installation
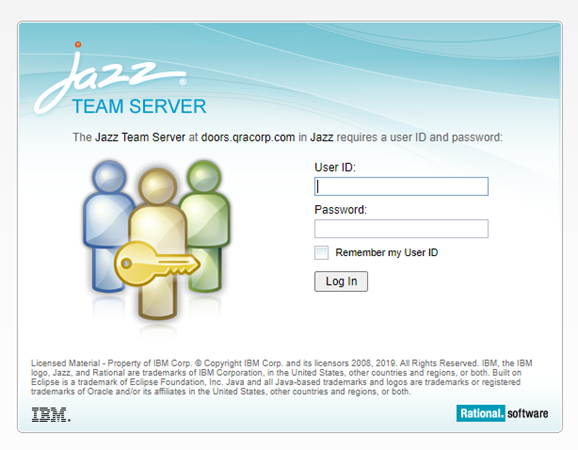
Step 1: Log into DOORS Next
Step 2: Open Mini Dashboard within DOORS Next
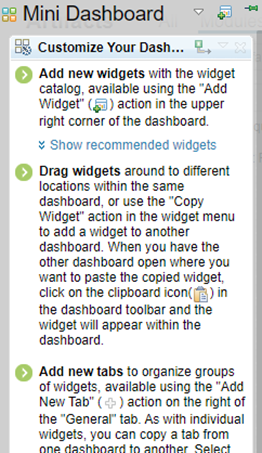
Step 3: Click on Add Widget button.

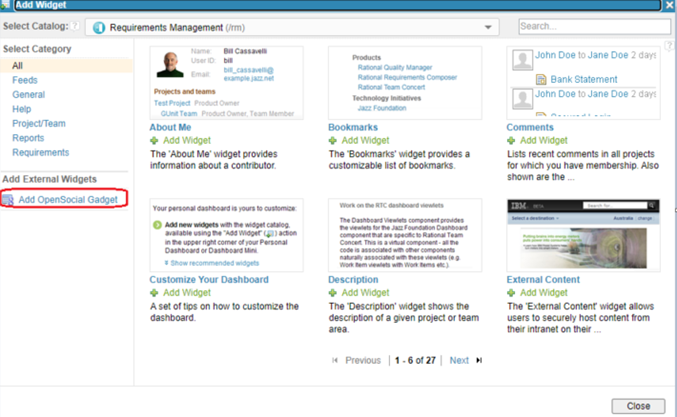
Step 4: Within the add widget dialog box, click on Add OpenSocial Gadget.
Step 5: Add QVscribe connector URL. Note this URL will be provided in your READ ME file attached to your QVscribe DOORS Next Download files.
Current Connector Link: https://storagedoors.blob.core.windows.net/doorsoct28/qvscribe-doors-extension.xml
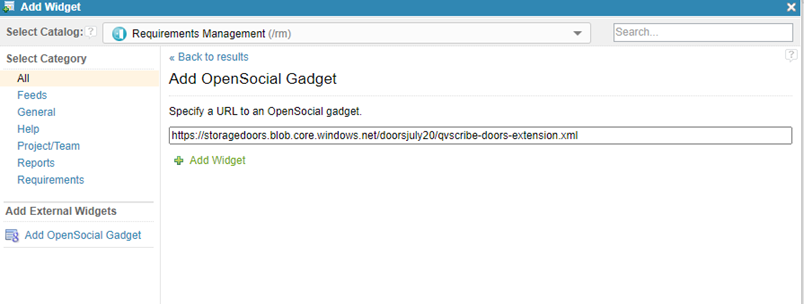
Step 6: Click on Add Widget.
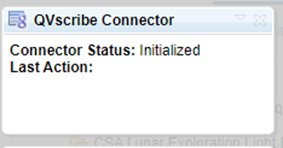
Please note that you should always have the social widget open on your screen.
.png?width=75&height=75&name=4.0%20(7).png)